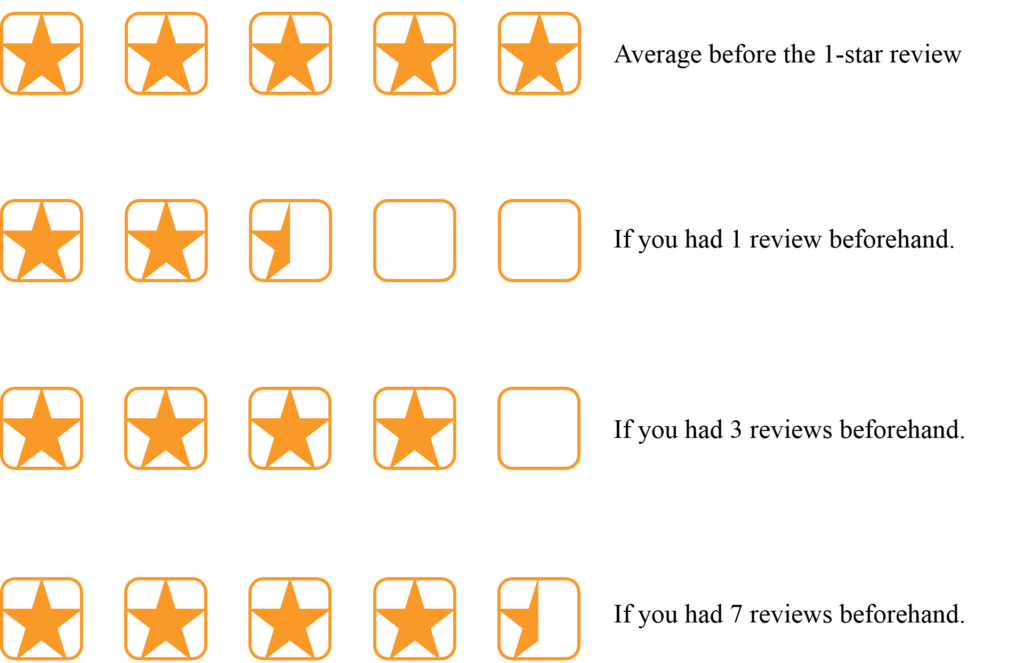
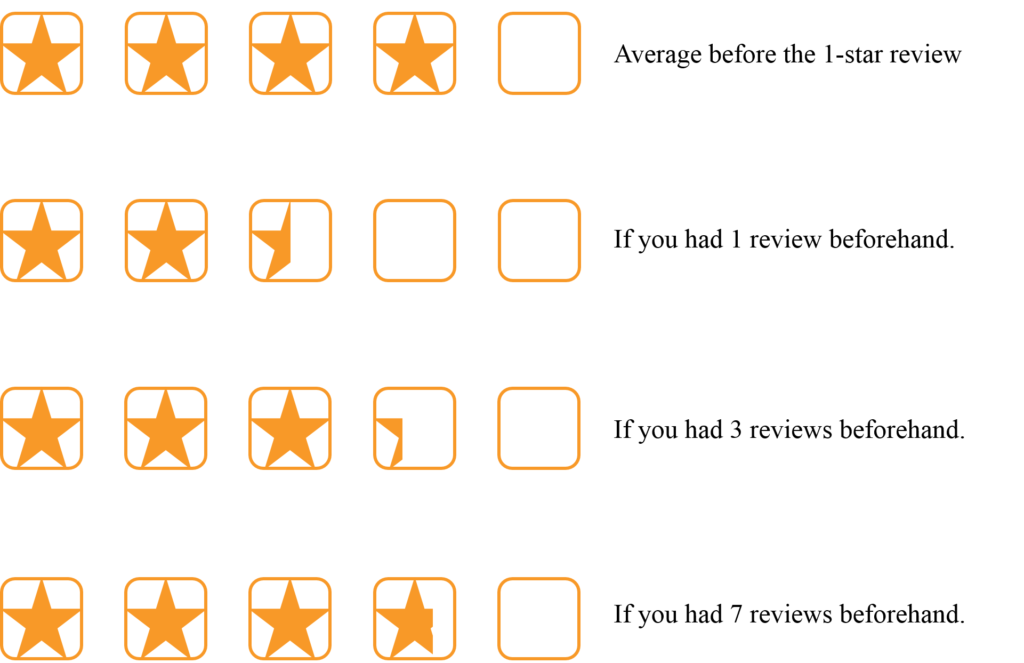
If you are following the proper guidelines for managing your web presence – providing excellent customer service, killing it in the courtroom, and asking clients for reviews – you should be able to build up a small wealth of reviews across the major portals. These reviews help build trust in prospective clients who visit your profiles on Avvo / Facebook / Yelp, and trust leads to conversions, which means the phone rings.
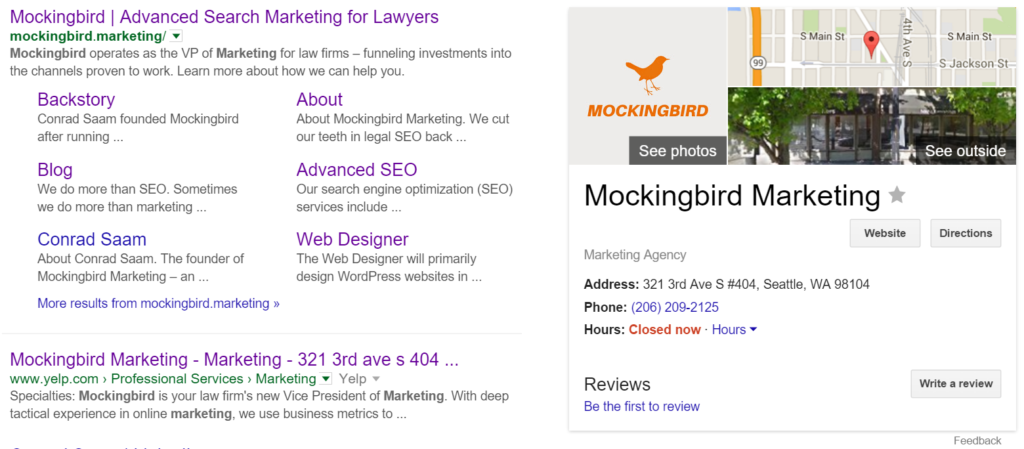
But that’s not where the uses of reviews end. Another benefit to multiple reviews is that you can mark them up, essentially putting little signs & labels around the content so that Google and other search engines can add rich snippets to their search results. Here’s an example:

Rich snippets give a tremendous boost to click-through rates (the percentage of people who click a clink when it shows up in their search results). If you’re interested in some examples, an article of Search Engine Land compiled compiled several cases of rich snippets at work. A tactic we currently use at Mockingbird involves consolidating many reviews together and marking them up on our website in order to let visitors (and search engines!) know what the opinions of our work are. These reviews are marked up according to the instructions on Schema.org and Google’s review rich snippet guidelines. By following the instructions on those sites, you can turn a review or testimonial page into a signal that Google can use.
How to Mark Up Your Reviews
Hopefully by now I have convinced you to start gathering reviews and marking them up with Schema. Actually following through on this process can be a time-consuming exercise of copy and paste, but we have a tool that should be able to help. Check out our review markup generator to get started.
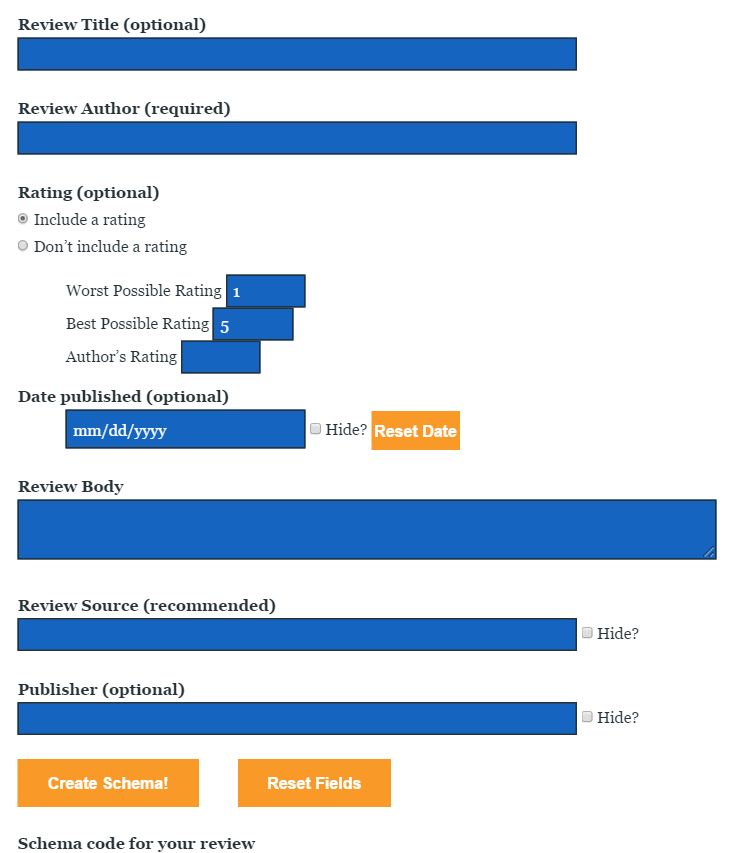
The review markup generator has several blank fields that you fill out with information from reviews. Technically, the only required field is an author name, but posting a long list of author names with no other information would be useless for website users and search engines alike.
Most of what you need to fill out is straight-forward:
- Add the title of the review to “Review Title” (or leave it blank for no title)
- Add the author’s name to “Review Author”
- Choose whether or not to include a rating. Specify the maximum and minimum possible ratings (usually 5 and 1), and then what the author rated your service.
- Add the date of the review to “Date Published” (or leave it blank for no date)
- Add the body of the review to “Review Body” (or leave it blank for no body)
- Add the URL that you got the review from to “Review Source”. You can leave this blank, but a URL source is the best way to prove your reviews are legitimate.
- Add the review website (i.e. Facebook, Avvo) that you got the review from to “Publisher” (or leave it blank for no publisher).
The “Hide?” option allows you to choose whether or not that information shows up in a review. If you choose to hide your review source, for example, users will not be able to see the URL that a review came from. Google and other search engines still could. This can help keep your reviews informative for search engines even if you want to cut out some information to make the review aesthetically pleasing. Be wary of doing this with too much information, because hiding text or links can be seen as a violation of Google’s Webmaster Guidelines.
After you finish filling out the review markup generator, click “Create Schema!” and a block of code will show up below, containing the complete Schema markup for your review. Copy and paste this to another page, rinse (Reset Fields), and repeat. When you are happy with the quantity & spread of your reviews, copy the second code block from the bottom of the page over to your website, and fill in the information about your law firm & reviews. Check your results using Google’s Structured Data testing tool.
If you have any questions, thoughts, or concerns about the markup process, let us know in the comments!
